


Field trip reports are a fun way to reflect on learning and share new discoveries with others.
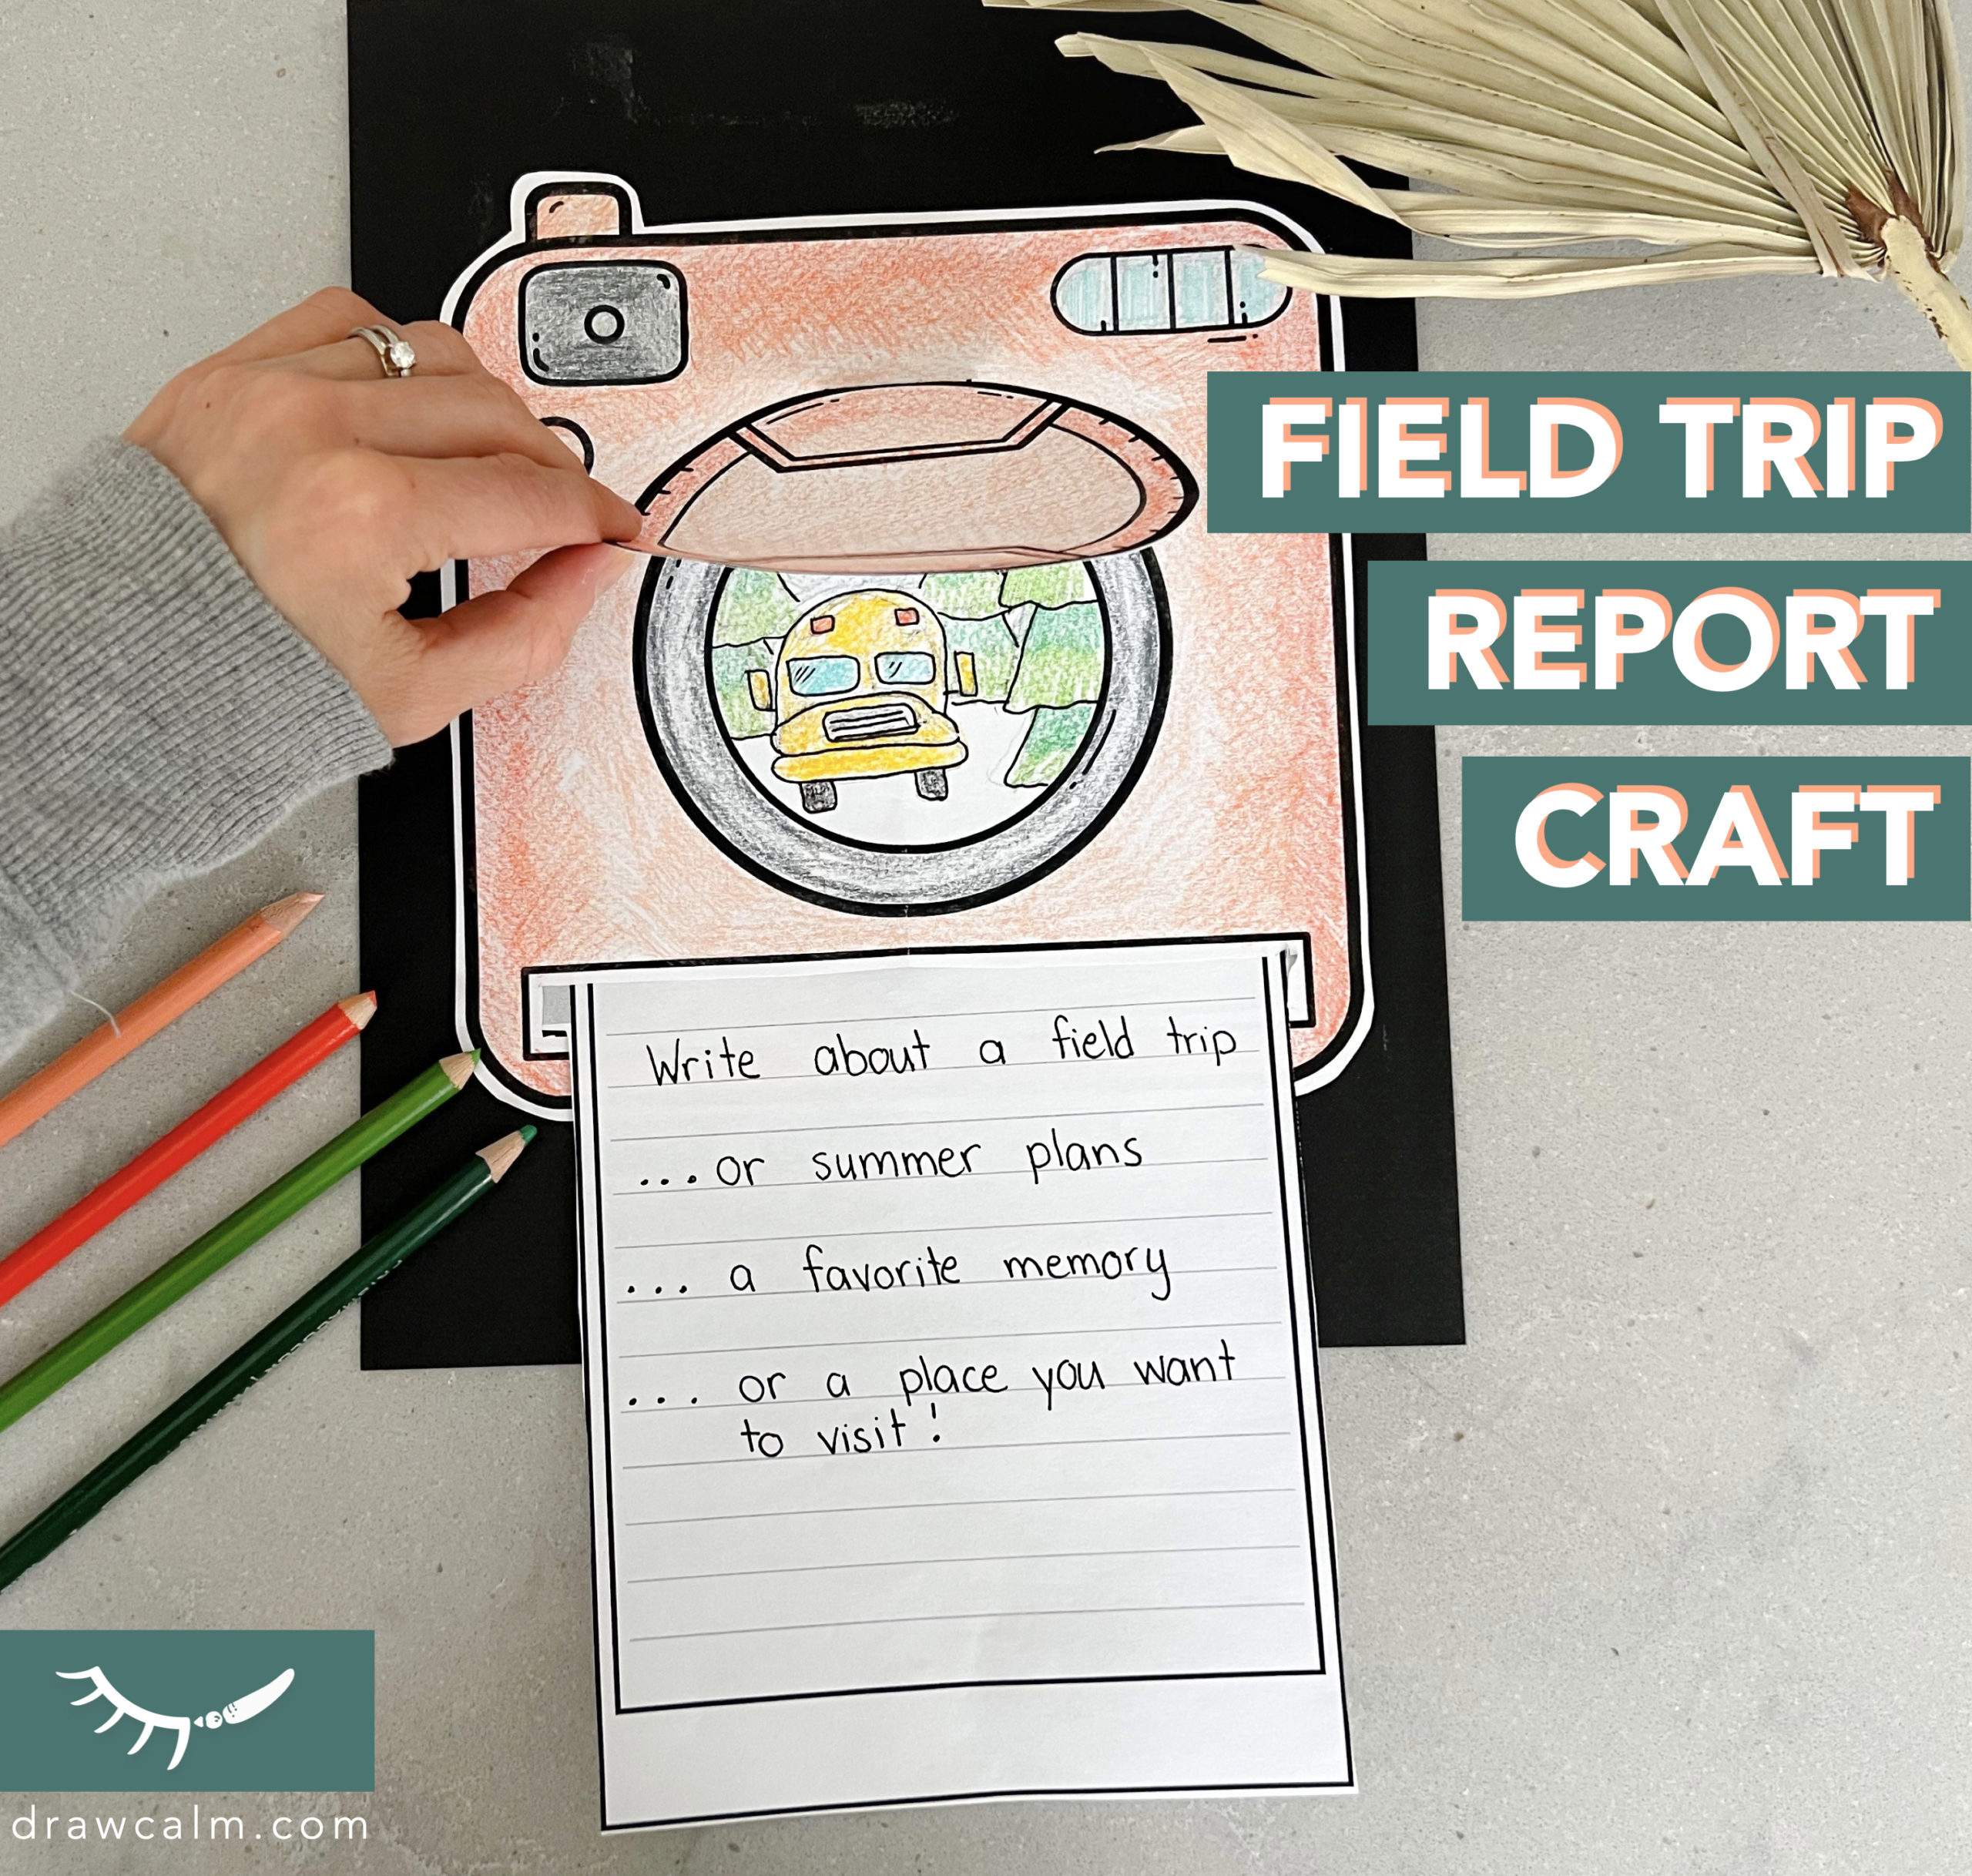
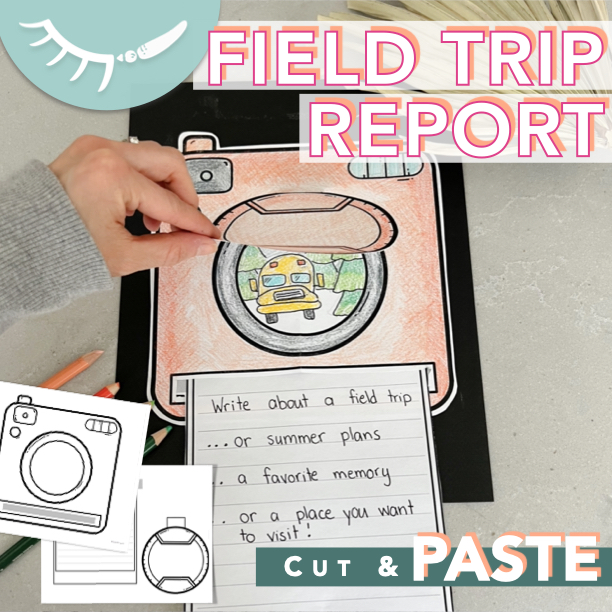
Check out this summer writing prompt designed like an instant camera! It has a spot for the text to slide out the bottom. It also has a movable lens cap that can be lifted to reveal a picture. These instant camera crafts are great interactive zoo field trip worksheets.

Where do you want to travel to? What did you do on your vacation?
It could be used as a field trip report or as a summer writing prompt about where students would like to travel, places they have visited on vacation, or beautiful things they have seen around their school or community.
A field trip for elementary students is so exciting. It is great to follow up afterwards with a report about what students learned. By reading a report on a field trip others are able to see the learning that students did, and share in their excitement.
Check these instant camera reports out to see if they are a good addition for your upcoming field trip plan.
Field Trip Report Supplies
To make these field trip reports you will need:
Printable PDF Field Trip Reports
(also available on Teachers Pay Teachers – Report on Field Trip)
Cardstock (optional, but highly recommended)
Background paper
Glue (tape optional)
Scissors
Black marker
Pencil crayons or markers for coloring
Prepping Supplies
Making these field trip reports requires 2 pages. Print out the two pages in the size of your choice. It comes in 2 different sizes.
Use the writing paper to write a field trip report. (OR: write about summer plans, a favorite memory or a place students want to travel to.)
Alternatively, this page can be printed without lines for students to draw a picture on, or a photograph could be printed and glued on to the page instead. A photograph or a drawing is a great option if you are planning a field trip for preschool or for kindergarten students.
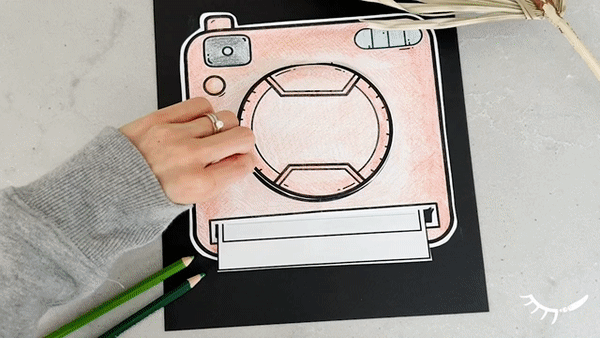
Color the Camera
Next it’s time to color the instant camera! First choose a color for the camera. Instant cameras come in so many fun colors. Then color both the camera and the lens cap. Additionally, to add the illusion that the camera is 3D color a darker shade around the edges.
The center of the camera could be used to draw an image of what was seen on the field trip. Alternatively, a photo could be printed out and placed in the circle.
Assemble the Camera to your Field Trip Reports
To assemble the camera, start by cutting out the camera, lens cap, and writing paper segments.
To help the writing paper slide in and out of the camera, glue it to a piece of card-stock to make it more sturdy. For the example in the video, I did not reinforce the writing page. However, I highly recommend doing so if you have the supplies.
Important Tip
To reinforce the writing page, first have students glue their writing paper piece onto a piece of cardstock. Then cut around the shape.
When cutting out the writing paper, pay careful attention not to detach the tabs on either side. The tabs will stop the page from sliding all the way out the camera.
Next, fold the camera in half at the bottom. Then, cut out the shaded rectangle shape. After the shape is cut out, test out that the writing paper can slide in and out of the cutout easily. A bit more paper may need to be trimmed off the sides to help the page slide easily.
With the paper in the full upright position add glue only at the very edges of the camera. Be careful not to apply any glue to the writing paper piece or it will not be able to slide.
The tabs and paper need to be able to slide up and down so it is important that the glue is only at the very edge. Alternatively the cameras could also be taped to a page from the front side to allow maximum space for the paper to slide.
Flip the camera over and press it to the background page.
Attaching the Lens Cap
First, to attach the lens cap start by folding down the tab. Then, apply glue only to the tab. Finally, press the tab to the front of the camera.
To help the cap blend in, first open the cap. Then, using a black marker, redraw the circular lines of the ring around the lens to the part that was covered by the tab. Lastly, color the tab to match the ring around the lens.
I hope your students have fun making these instant camera reports. These field trip reports make a colorful bulletin board display or are a great addition to an interactive notebook.
Other Summer Themed Printable Resources
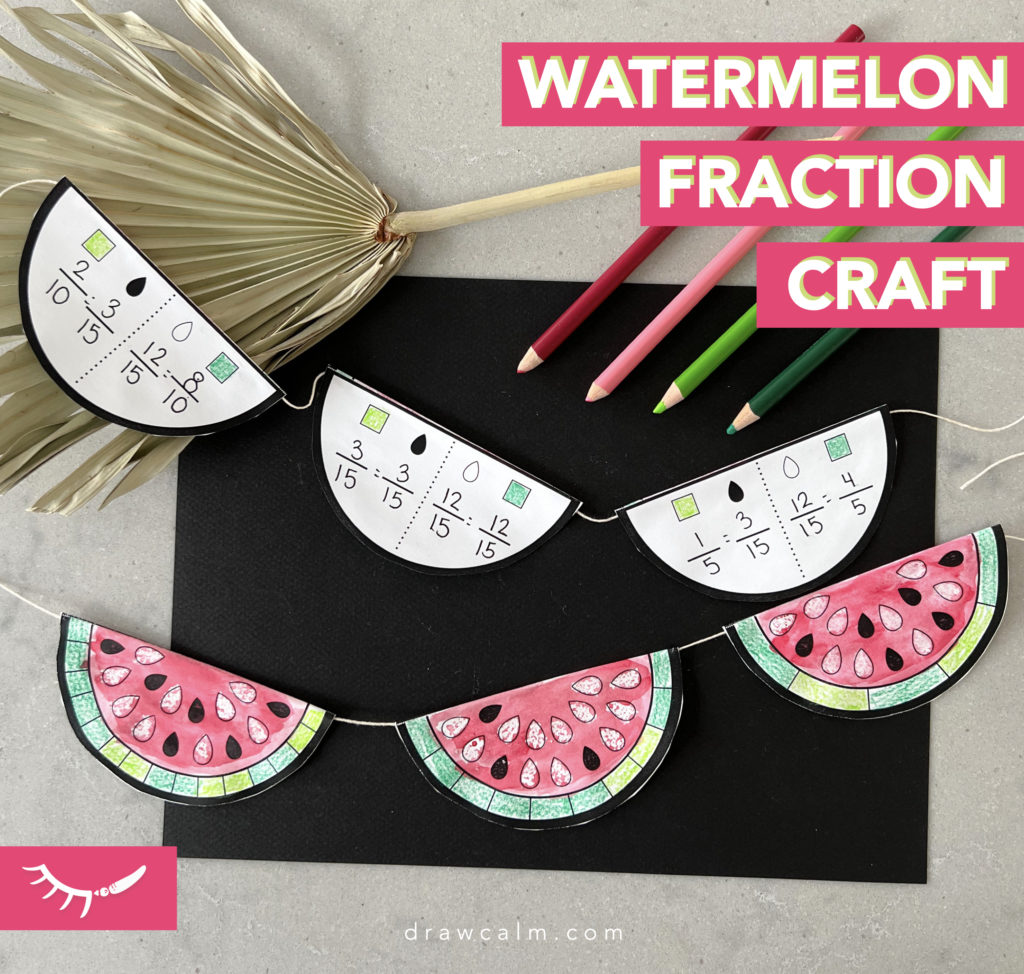
If you are looking for other fun summer learning activities check out my watermelon fraction garland, and the butterfly paper craft. The watermelon garland teaches students how to show equivalent fractions.
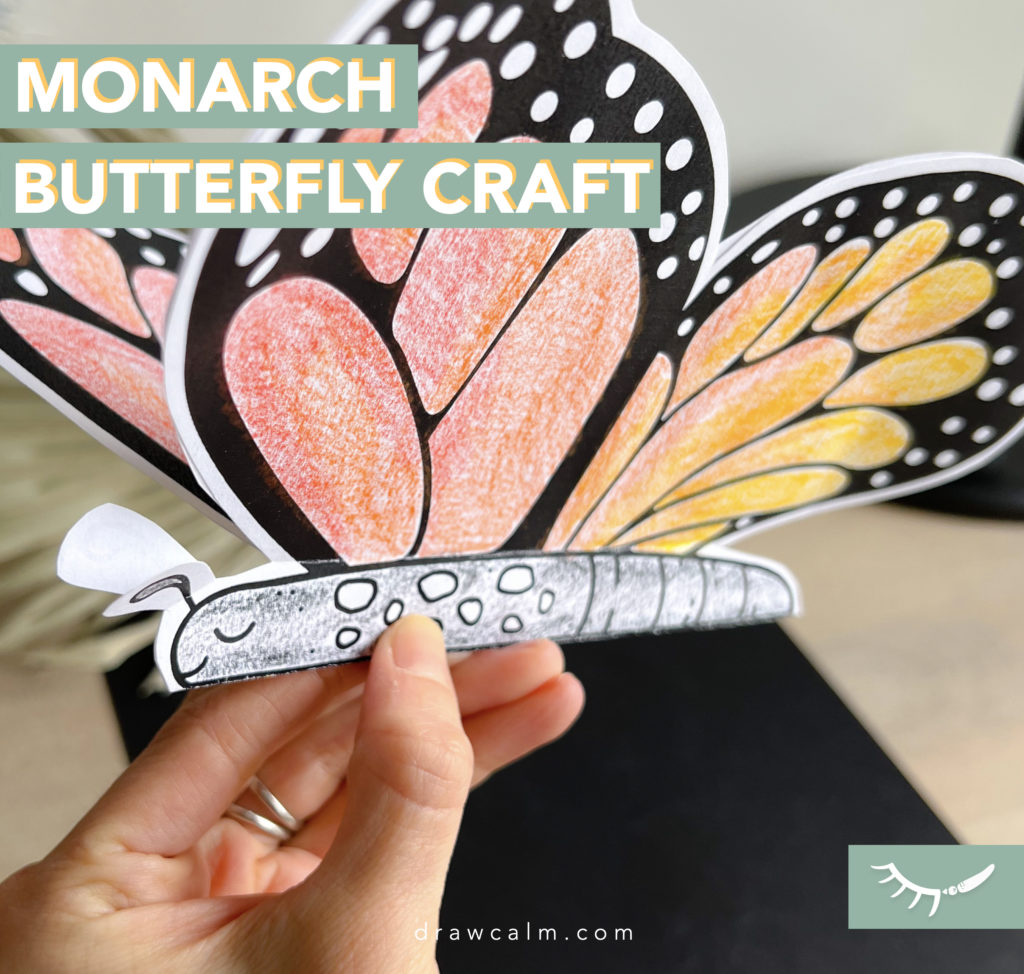
The butterfly paper craft can be a great way to study the migration of monarch butterflies. Learn more about how to assemble these crafts by checking out the blog posts linked above.


+ COMMENTS