


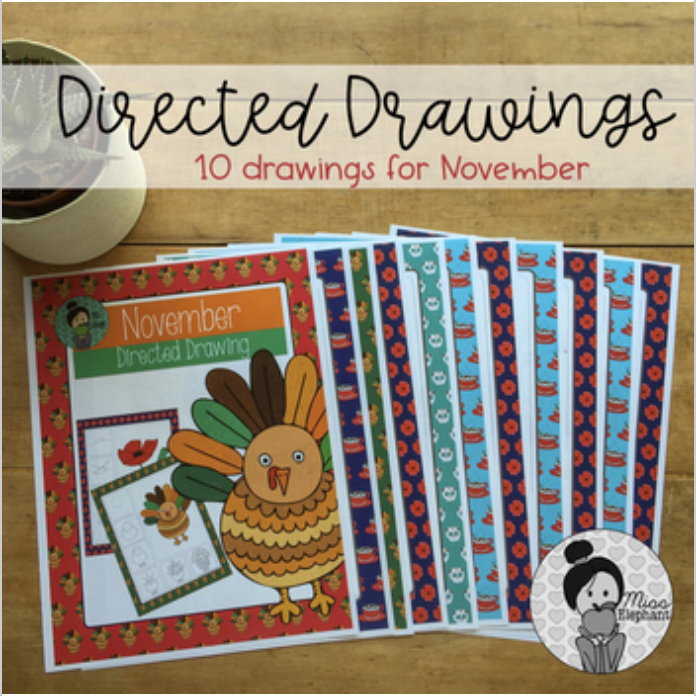
Turkey Directed Draw
Turkey Directed Draw is a fun easy art activity to do during fall festivities. I love all the festivities in the fall. I love seeing all the crazy types of chickens at fall fairs with their fancy feathers. Seeing all the massive pumpkins and amazing skills of local crafters is a so inspiring. Berries are my favorite fruit so I also take the opportunity to stuff my face with as many as I can find.
Fall fairs, Halloween, and Thanksgiving bring so much joy and celebration to the classroom. It is also a great time to learn different vocabulary around harvesting and being thankful.
I am in Canada so we celebrate thanksgiving in October before Halloween. It’s also important to look at Thanksgiving from an indigenous perspective. Check out: All My Relations podcast for insight and stories about the past. I am so thankful to Matika Wilbur, Desi Small-Rodriguez & Adrienne Keene for their work on this amazing podcast!
Children make the best artwork, and I love introducing new things for them to draw like pumpkins, scarecrows, apples and of course turkeys are a favorite too. If you are interested in doing a turkey drawing with your class read below for some tips of what I have found worked well in our classroom.
Turkey Directed Drawing for Kids
When doing a turkey directed drawing for kids there are simple steps to follow to help the final art piece turn out fabulously! Teaching art can be intimidating at first, but with a very simple selection of supplies students can have fun working on their art skills without it taking a long time for the teacher to set up.

Turkey Directed Draw in Easy Steps
Drawing a turkey can be accomplished with easy steps!
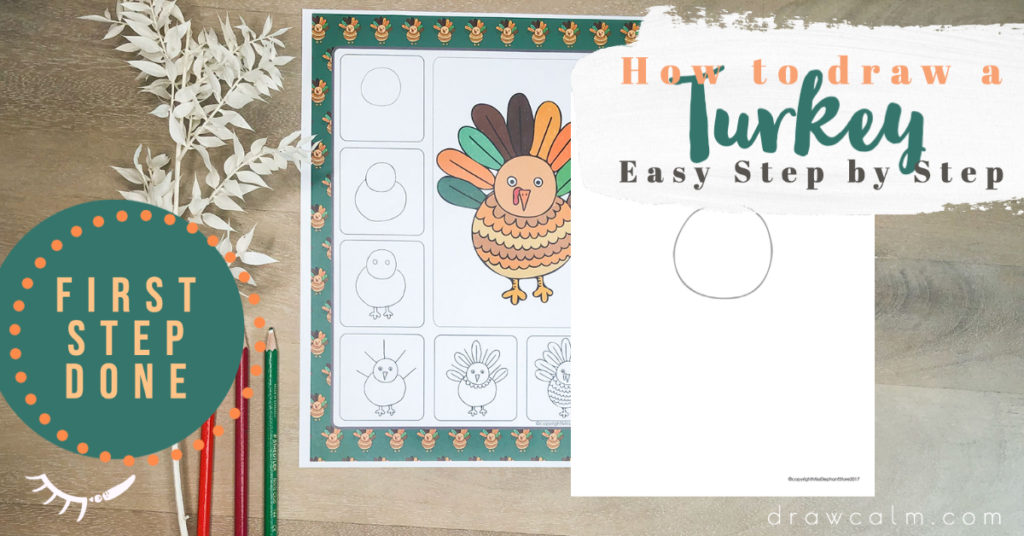
Step 1: Prepare the Starting Shape
Give students the first shape or have a tracer available to help them get started. In addition to helping them begin their drawing, having the initial step helps set them up for success with the rest of their art piece. For the Turkey directed draw, providing a small circle tracer is enough to help students get started. Alternatively, I have included a page with the first step on it for easy printing!
Step 2: Provide the Step by Step Instructions
You can walk students through each step and have them follow after you. Alternatively, you can print out instructions and have students work at their own pace through the drawing steps. Both ways enable students to observe and practice their drawing skills.
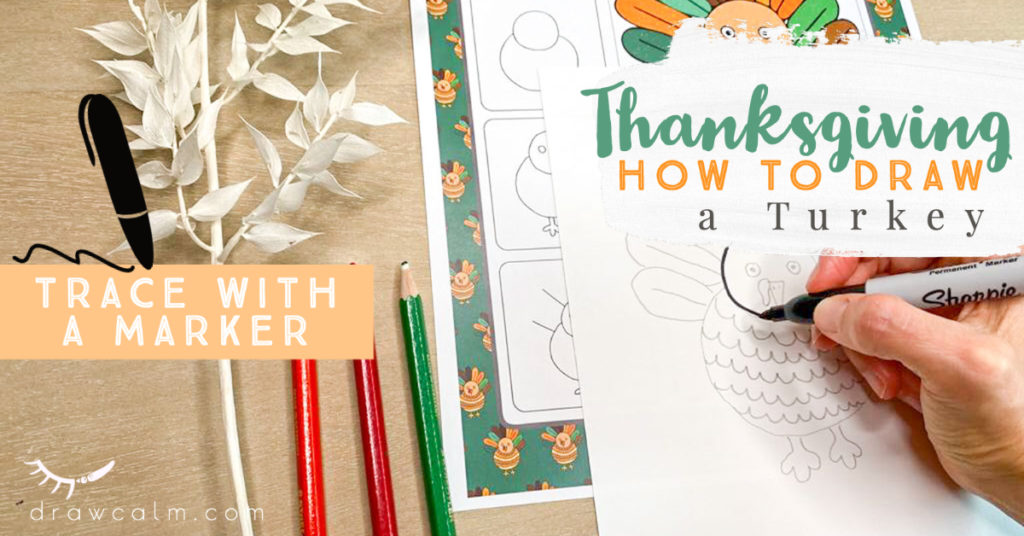
Step 3: Trace with Permanent Marker
After the drawing is complete, students can trace over their drawing with a black permanent marker. (Tip: have students put a scrap paper below their work area so that the marker will not end up on the desk!)
Step 4: Look at Photographs
Look at pictures of real turkeys so students can see what turkeys look like. This is a great opportunity to talk about the variety of colors that can be used. Have students look closely and see where feathers change color. Then, talk about how each feather has several colors blended in. Some students like to have a scrap paper beside their work area for them to test colors on. To learn more about turkey’s and hear some facts check out: Turkey Facts

Step 5: Wax Crayon for Details
After that it is fun to add details to the turkey feathers with wax crayons. Encourage students to press firmly with the wax crayons so that when they paint on top their details show through.
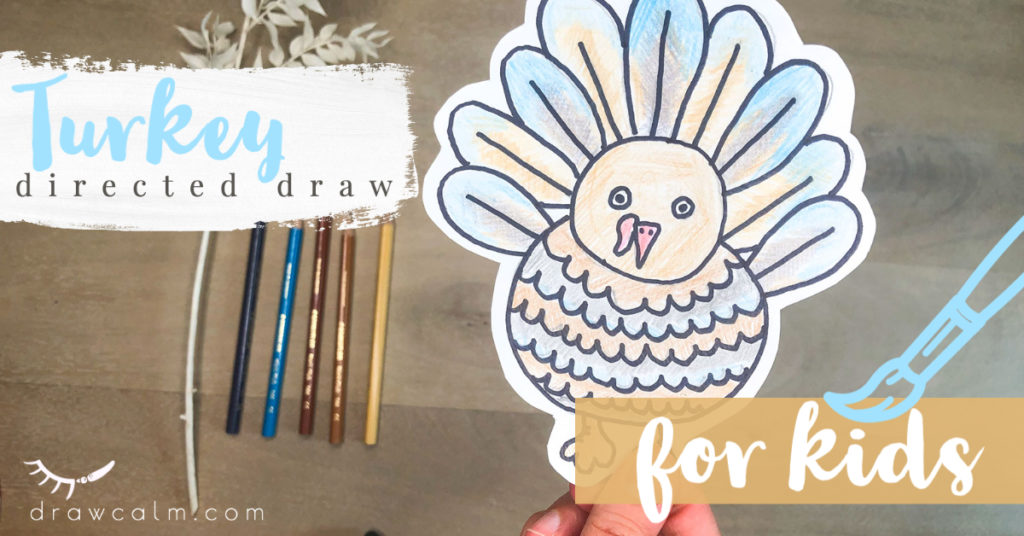
Step 6: Paint or Color the Turkey
Finally, use watercolor paints to paint on top of the turkey. The wax crayon details will shine through. I hope these steps on how to draw a turkey were helpful! This is a simple formula that will work for the turkey directed draw and for many art projects with students. For this turkey I just blended pencil crayons together.
Thanksgiving How to Draw a Turkey
After students have followed the thanksgiving how to draw a turkey, they can do many things to finish up their art piece. Remember to keep it simple at first. It is the start of the year and it is important to slowly build art skills, as the year progresses students will be able to focus on their artwork for longer periods of time.
Option 1: Class Bulletin Board for your Turkey Directed Drawings
One option is to cut out the turkeys and paste them onto a class bulletin board. All the turkeys could be in one field together. For the background, cut out green poster paper for the field and add a blue sky. If you are feeling fancy, you can add a barn cut out in one corner. Or perhaps, your turkeys are running wild in the forests!
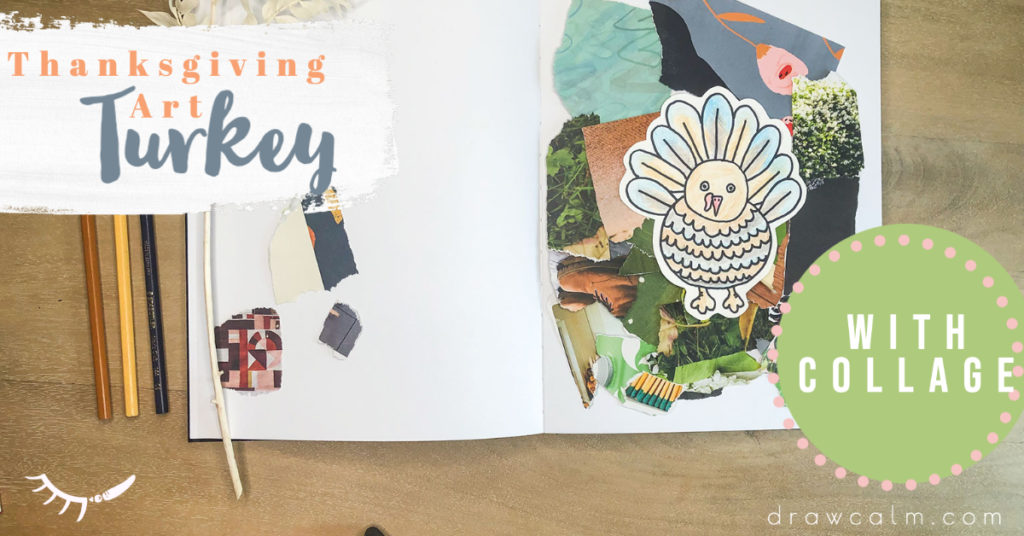
Option 2: Collage or Painted Background
Students could collage a background and paste their finished turkey in the foreground. They could also do a simple wash on a separate paper and then cut and paste their turkey drawing on top. Both create stunning results with very different looks!
Paint the Background:
If using paint, keep it simple with 1 or 2 colors for the background. This will help their turkey stand out and will keep organizing materials simple.
Collage the Background:
Use old magazines or books as the background. It is fun to mix in bits of tissue paper or construction paper too!
Option 3: Write a Story to go with your Turkey Directed Draw
As a follow up activity to the art project, students can write a story about a turkey. While making their artwork the students will have time to think about their turkey. The personality of the turkey will develop as they work. By doing the artwork first it can help students with their writing.
Sometimes I provide students with a word bank of vocabulary that they can use to build their stories. I love hearing of all the adventures the turkeys have gone on. If you are looking for a directed drawing with a word bank ready to go, check out my turkey directed drawing.
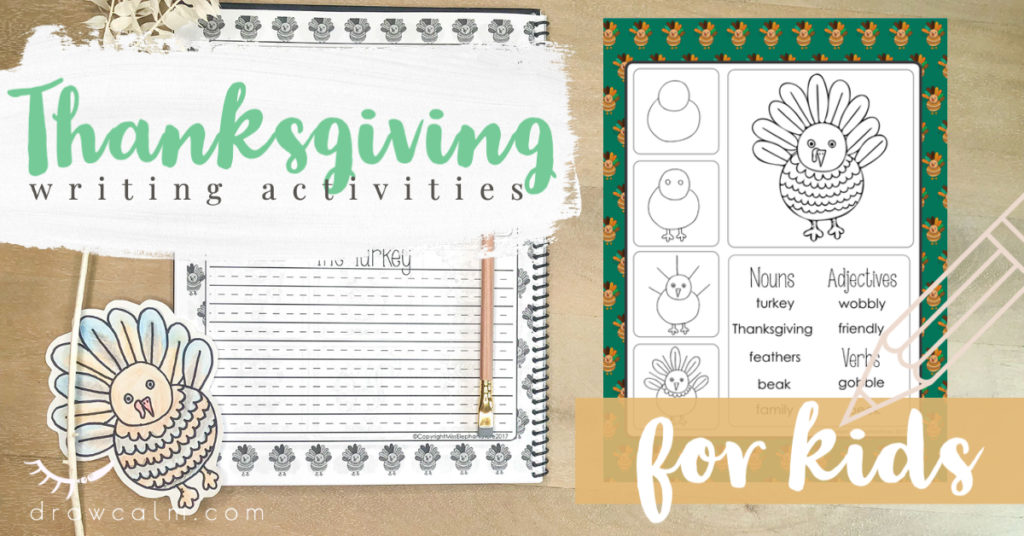
Writing Activities for Thanksgiving
There are many other fun writing activities for Thanksgiving. I love using writing prompts for October and November with my students. They fit into the fall theme without being all about Halloween and Thanksgiving.
Some students love Halloween and Thanksgiving, but other families do not celebrate these holidays. I like to mix it up in October and November and cover some Halloween topics but also include other fall themes.
For ideas on other fun fall writing and drawing prompts for first grade check out my blog post:5 Engaging Writing Prompts for Halloween: Fun in 2nd Grade!
November is a cozy time. I live in Canada and the weather starts to get significantly colder, the nights become longer and it is a great time to cuddle up inside.
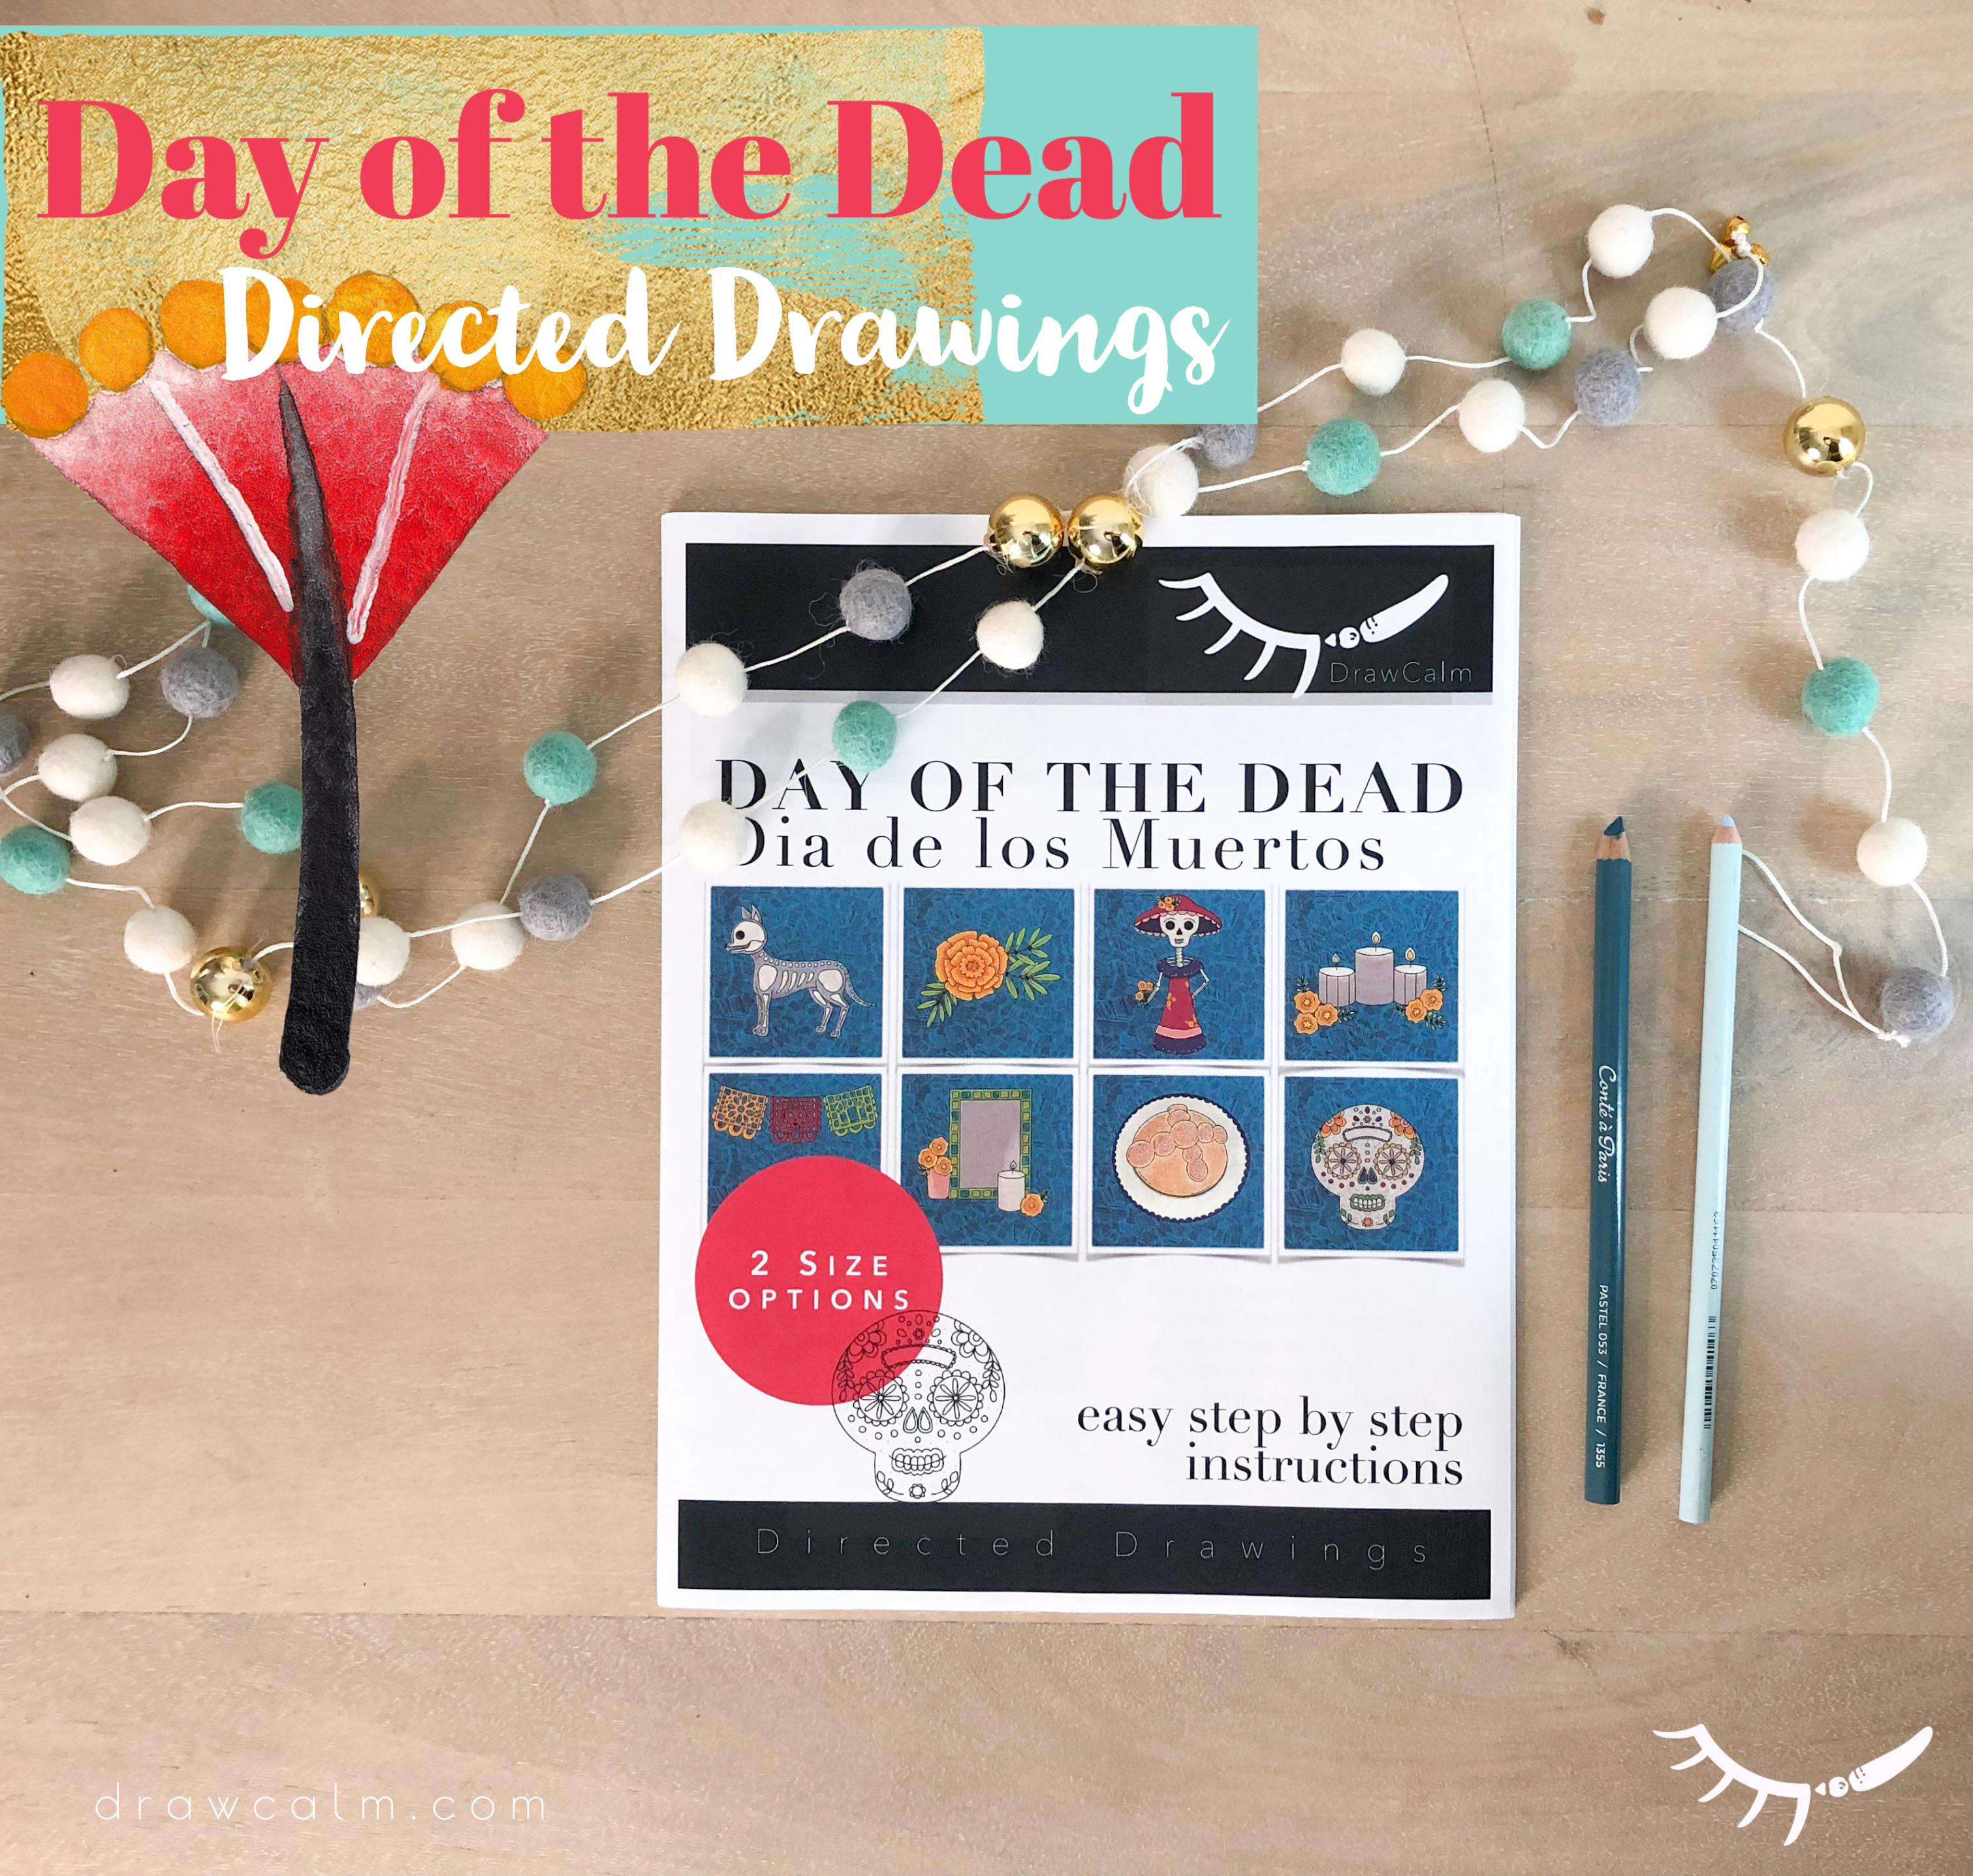
How to Draw a Sugar Skull for Kids
In November we like to talk about the Day of the Dead and learn about this Mexican celebration. We learn how to draw a Sugar skull for kids. We often watch a short clip from Coco too!
How to Draw a Hot Cocoa
Students learn how to draw a hot cocoa. It is a great time to hear about how students like their hot chocolate, with whipping cream, a peppermint stick, chocolate sprinkles, and marshmallows. We like to make hot chocolate too when we are writing about it!
How to Draw a Hibernating Bear
Fall is also a fun time to learn how to draw a hibernating bear. It is fun to learn about which animals hibernate. Animals are fascinating!
If you are looking for easy ways to bring drawing into your writing time, check out my directed drawings and writing prompts for young learners.
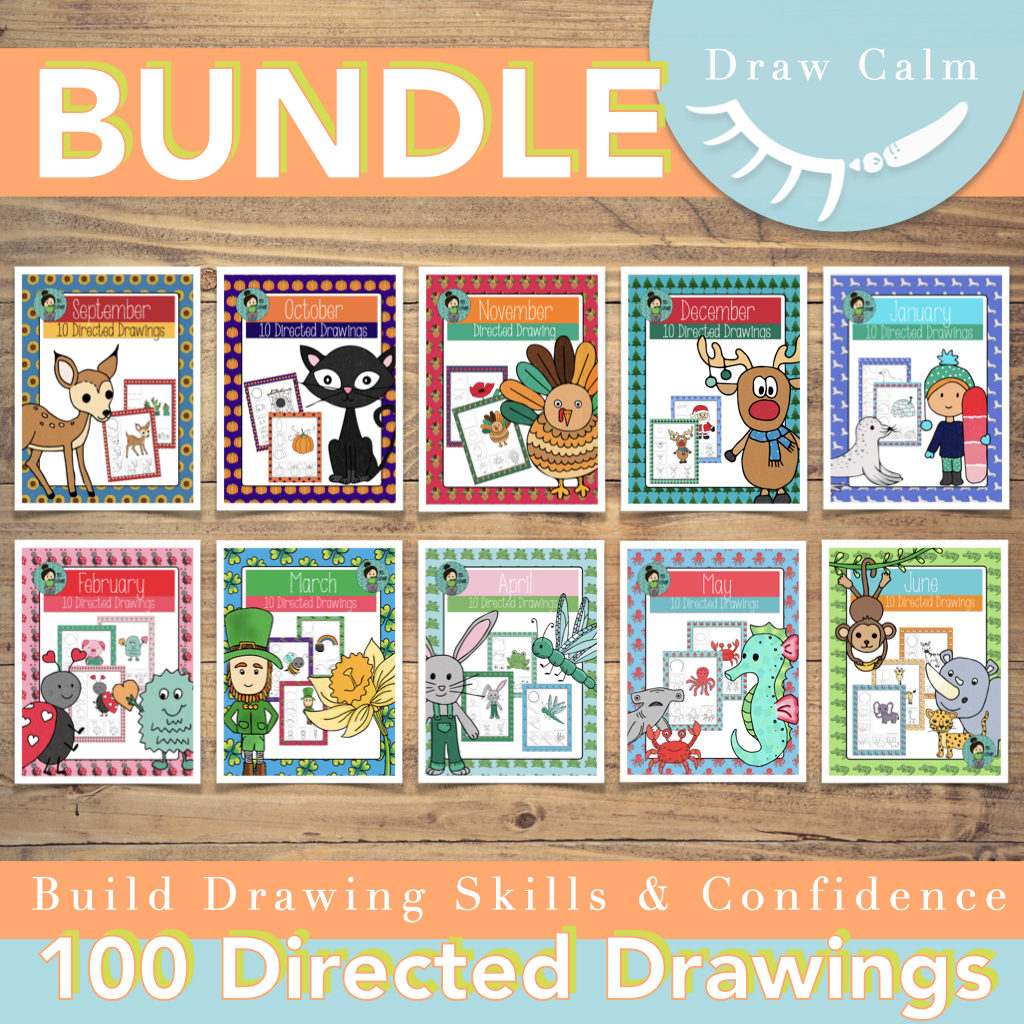
Kid Directed Drawings
Kid directed drawings are so fun and an important part of our art program. I began designing simple directed drawings that young students could follow independently and feel successful. As teachers, we are so busy. I wanted to create a way that students could learn to draw without it taking me a long time to prep.
We draw lots of different things in my classroom: seahorses, sharks, even the lifecycle of a jellyfish! As students draw new things they build their confidence and see that they are capable artists. They learn to observe, see simple shapes within the drawing, and break images down into smaller actionable steps.
To read more about the importance of directed drawings check out my blog: Why Directed Drawings for First Grade is so Important.
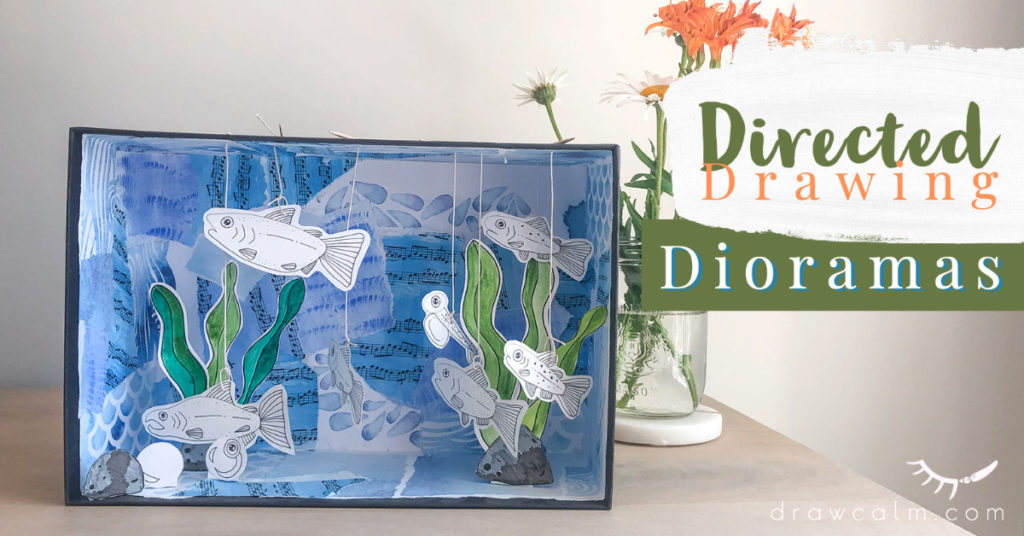
Creative Ways to Use Directed Drawings
I love seeing children’s artwork when it is done mindfully. With a few simple strategies, a directed drawing lesson can go from a quick unfinished sketch on a piece of paper to a beautifully finished piece, a 3D project, or a collection of beautiful sketches documenting progress through collected images over time.
To read more about the different ways we transform Directed Drawings read my blog post: Directed Draw for Kids: 5 Creative Ways to Use Them
I hope you found this turkey directed draw useful. I hope you have lots of fun drawing festive fall things in your classroom with your students!


[…] There is a simple formula that you can follow with your students to make their directed drawings stand out. Teaching students simple steps to drawing, tracing, and coloring their artwork can make a huge difference in the outcome and also build their independence. To learn more, check out my blog post to learn more about how to take a drawing from the initial steps to a finished product: Step by Step Turkey Directed Draw […]
[…] If you are wondering about tips on how to finish off the Day of the Dead directed drawings so that students’ work looks complete and beautiful check out my blog post on a Thanksgiving Turkey directed drawing. Lastly, it goes into detail on simple tips for the student work to look finished and beautiful: Turkey Directed Draw […]